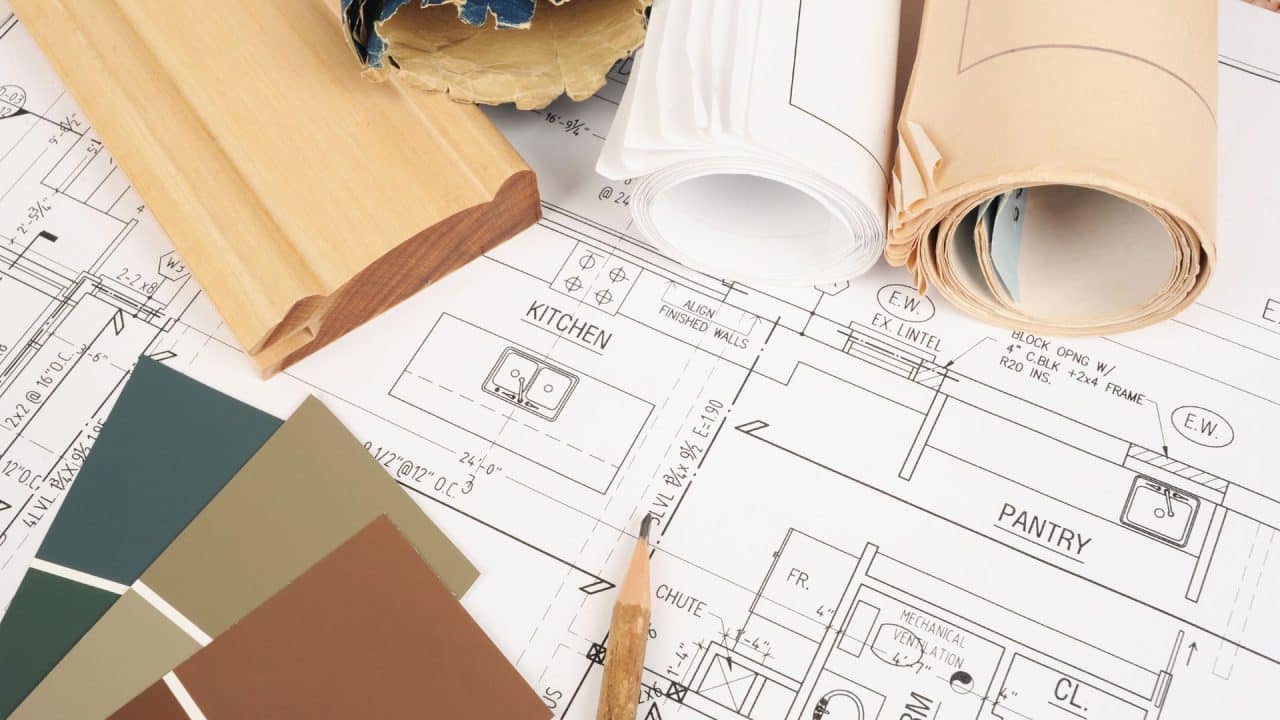
There’s nothing worse for a homeowner than a never-ending renovation. You’re excited about a new kitchen or bathroom, but unexpected things happen everywhere. You ordered the wrong tile, threw out your old appliances, spent a ton of money on takeout, and felt the purse strings tightening. It sounds exhausting, but there are foolproof ways to plan for your next renovation, like an interior designer.
You can create a plan, stick to it, and make it far less stressful. Interior design is only about 10% of the pretty stuff; the other 90% is planning all the details, like what functions the room needs to serve, who will be using it, and any detail you can think of. Thinking like an interior designer will minimize delays and mistakes.
Make a plan
Plan, plan, and plan. Plan every aspect. The amount of details to plan before getting to the pretty things continues to amaze me. You’ll want to ask yourself many questions, leaving no stone unturned.
Where do you want to place cabinetry? Is there enough space to do what you want but still have enough space for people to egress? Are there walls you want to remove or add? Do you need more outlets? Where should those outlets be installed? And many other questions.
You’ll want to do this before moving on to the next step because a rooms function is more important than the colors in the room. Function first, decoration and style second. Then you can make a solid list of your wants and needs.
Create a mood board
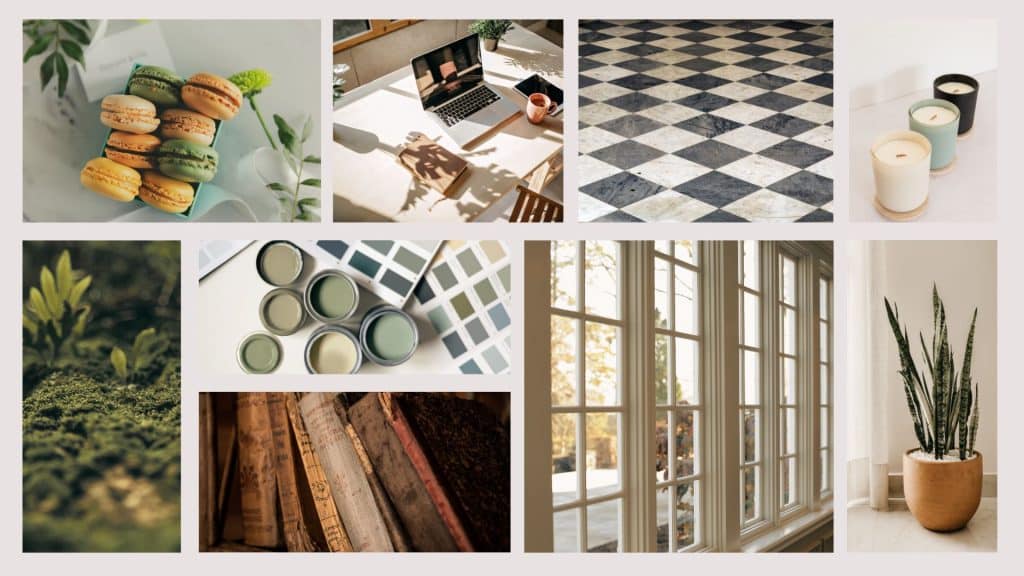
Now that you have a plan, you can move on to how the space will look in terms of color and style. Pinterest is your best friend. Select anything that speaks to you, even if it’s different from what you want or does not match your style or budget. You can refine it later. The goal is to get a feeling for how this space will look.
The goal is to see what colors you are gravitating towards, types of windows, the lighting. How do you want it to feel when you walk in? When you’re finished, take a break and return to it a day later. Can you see where the project is heading? Is it old world, refined, or colorful?
Creating a look can be challenging for some people, so if you can’t see the images coming together, try to see what you like in all these photos and create a list of those items-moss green, library shelves, camel leather, brass hardware, clean desk, there’s your look.
Sketch it out
Now that you have planned out how you need the space to function and an idea of the colors or how you want the space to make you feel, it’s time to sketch out all the details. Take measurements because you’ll need those when buying furniture, flooring, and everything else.
You’ll also want to figure out the placement of furniture or wall treatments etc. What size of couch can you fit while still keeping areas open for people to walk around the room? Draw a sketch or a list and set it in stone.
Select decor and accessories first

It can be challenging to do this before paint and selecting specific furniture pieces, but each space should have a piece of artwork, unique furniture, or inspiration photo that you center the design around. Let’s say you find and old landscape painting and love the greens in it you’ll want to ensure you select materials that look good with that painting. Find wood, tile, and textiles that pair well with the painting to give you a cohesive design.
Also, pick paint last. You’ll want to ensure that the green paint you’ve been dreaming of works with your artwork and other materials. There’s so many paint colors out there, you will be able to find a color that works best and let go of the colors that don’t.
Get material samples
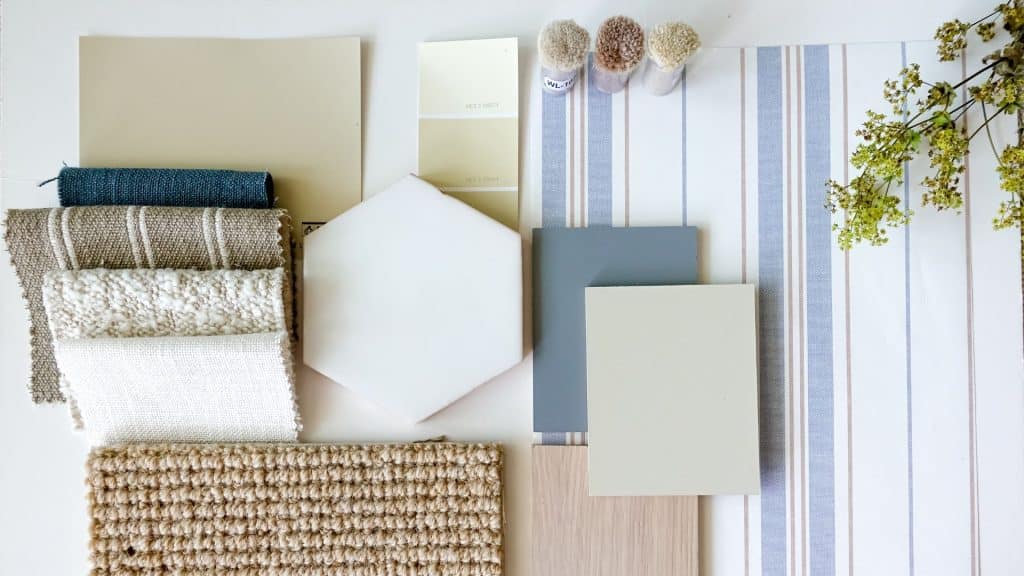
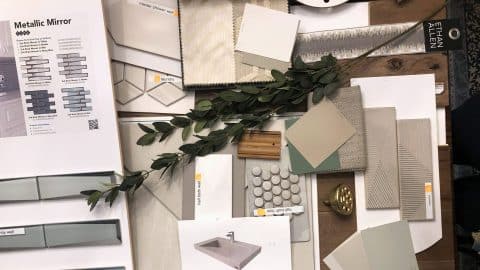
I cannot stress this one enough. Make sure you order all samples for everything you want in the space. Order the tile, wood, fabric, paint, and every sample you can find. You’ll want to see all these materials together because they could change.
I can’t tell you how often clients think they have found a perfect white and then put it next to the other materials, and it turns light blue, because all paint colors have an undertone. Sometimes you won’t notice the undertone until you see it with your inspiration photo and materials. You want to put the materials together to make sure they are not competing with each other.
Budget 10-20% over your initial budget
Let’s say you are budgeting a DIY bathroom renovation for $10,000. You need to be comfortable spending $11,000 – $12,000. It’s just the reality of renovations and if you think it won’t happen, it will.
Sometimes, there’s rot on the subfloor, and now that needs to be replaced. Or you’ve found old, dangerous electrical, or a previous home owner cut into the support beam and now you need a structural engineer to come in. If you plan for and expect non-ideal situations, you will be happy when you don’t have any issues, and if you do discover these things, you won’t be as upset.
Wait to demo before materials arrive
Waiting to demo might seem like a no-brainer, but I’ve seen this happen too often. Cabinets can take anywhere from 4 weeks to 6 months to come in. It would be best to wait until the cabinets arrive at your home and to check for any damage or other order issues. That way, your kitchen will only be out of service for a month or two instead of a year.
Be zen
Renovations are stressful. They take up our time, money, and patience. I recommend doing anything you can to make it less stressful. Try to leave the house when you can, go outside, watch movies, or visit family.
For kitchen renovations, I highly recommend setting up a temporary kitchen. Without this, you will be understandably tempted to order pizza multiple times a week. Move the fridge and microwave to another area of the home, and set up a hot plate and some food storage. It will make the renovation less stressful, giving you more patience and saving your wallet.
Complete the punch list

It can be tempting to start moving furniture in when the project is nearing completion. But, at the end of every project, many little things need to be done, which professionals call a punch list, everything that needs to be touched up or fixed.
And it takes longer than you think. You may have to patch a small hole or scuff on the wall or a new window that sticks a bit when opening. Make it easy on your self and get a small tool kit for quick fixes for the punch list and after. I’ve had one for anything and everything that comes up at the end of a renovation.
If you don’t complete this list, life gets busy, and the space will look unfinished. Later, you’ll start to be bothered by these little unfinished things. So try to hold out until all those punch list items are complete.
We may receive compensation if you click on links we provide.




Leave a Reply